Conditions/features in use: Query String DKI Shortcode
Try it!
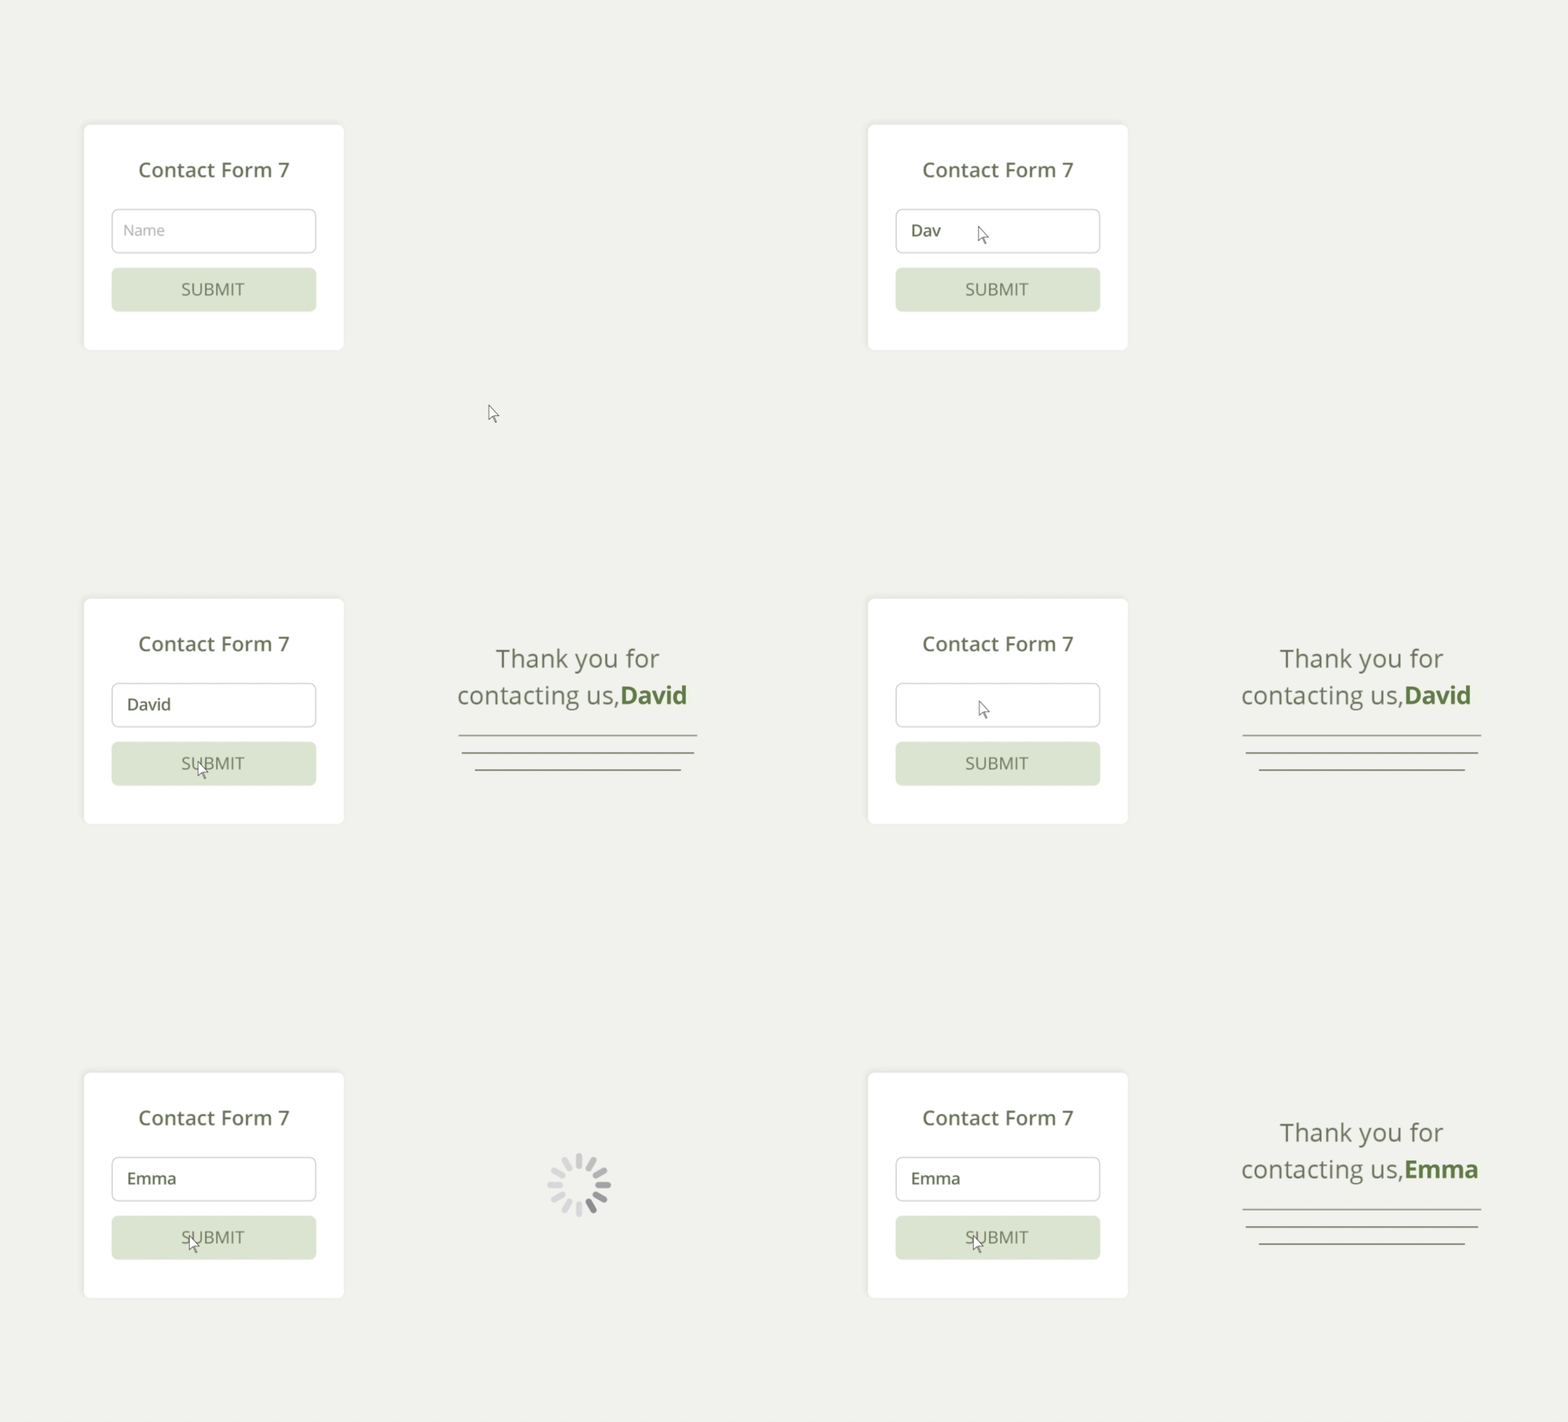
Enter your name and favorite color in the form below to see the result:
How to display Contact Form 7 conditional content based on the user input – Step by Step
To dynamically display the user input from of a Contact Form 7 form, we will follow these 3 steps:
- Set up the contact form.
- Pass the user inputs using query strings in the thank-you page URL.
- Display dynamic content based on the values of the query strings.
Step #1: Set up the contact form
Create a contact form with your desired fields and add it to your page. In our example bellow we have a name field and a color field.
<p >what is your name?</p>
[text* your-name default:get ]

<p >What is your favorite color?</p>
[radio your-color use_label_element default:get "Red" "Green" "Blue"]

[submit "Submit"]
Step #2: Pass the user inputs using query strings in the thank-you page URL
Add the following JavaScript code to the page with the form. The code adds a query parameter with the field’s name to the thank-you page URL. The value of the parameter is the user’s input to the relevant field.
document.addEventListener( 'wpcf7mailsent', function( event ) {
  var formId = 111111
  var fieldNames = ['your-name', 'your-color']
  var nextURL = 'https://example.com'

  if(event.detail.contactFormId == formId){
    let fields = event.detail.inputs.filter(input => fieldNames.includes(input.name))
    if ('URLSearchParams' in window) {
      var searchParams = new URLSearchParams(window.location.search)
      fields.forEach(field => searchParams.set(field.name, field.value));
      var newPath = nextURL ? nextURL : window.location.pathname
      var newPathQuery = nextURL + '?' + searchParams.toString();
      window.location = newPathQuery
    }
  }
}, false );- Replace the value inside the formId parameter with your form ID.
- Add the name of any input field you will base conditional content on inside the fieldNames parameter, each field name separated by a comma and wrapped by quotes.
- Replace the nextURL parameter with the address of the page that the user inputs will be displayed on (usually it will be a thank-you page). Leaving the URL empty will lead to the page with the form simply being reloaded without redirecting the visitor to another page.
Step #3: Display dynamic content based on the values of the query strings
If-So allows you to personalize the user experiences with two types of dynamic content.
#1. Use our Query String Dynamic Keyword Insertion to automatically insert the parameter’s value. ( {your name} in our example).
#2. Create a trigger to add or replace any type of content on the page (title, text, image, CSS, etc.)
In our example, we displayed the user’s name directly using the Query String DKI shortcode, while using a trigger to modify the page style based on the color field.
Displaying an input field using the Query String DKI
Add the following Query String DKI shortcode to your page. The shortcode will be replaced with the value of the parameter when the page is rendered.
[ifsoDKI type="querystring" parameter="your-name" fallback="{name}"]*Make sure to replace the value “your-name” with your parameter’s name.
“Adding/replacing dynamic content using a trigger
To add dynamic content according to the user input, follow these steps:
- Create a new If-So trigger.
- Select the “Page URL” condition.
- Select the “URL Contains” operator.
- Type the name of your query string and the relevant value. In our example, we want to use the ‘your-color’ field, so our query string will be ‘your-color=Red’.
- Add the desired content in the version’s content field. In our example, we alter the page style. Learn more about conditional CSS here.
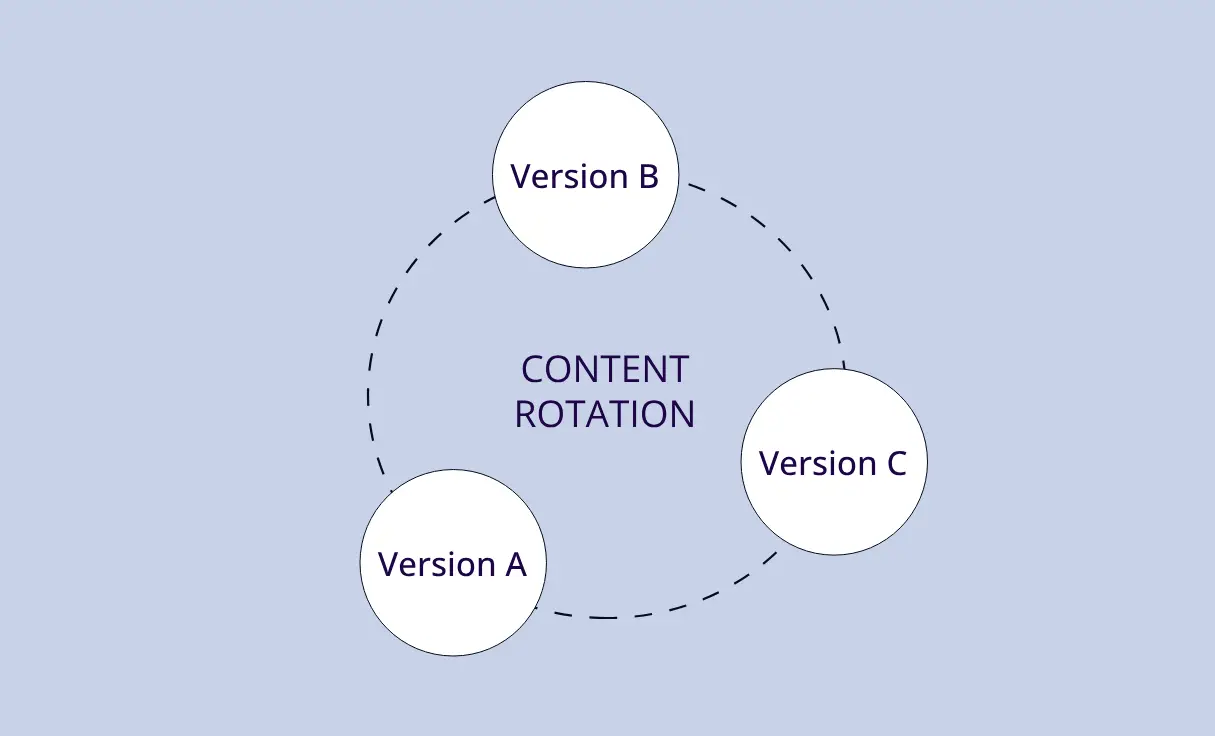
- Add another version for each possible query string. In our example, we add two more versions for the inputs: “your-color=Green” and “your-color=Blue”.
- Publish the trigger and paste the trigger shortcode on your page.


