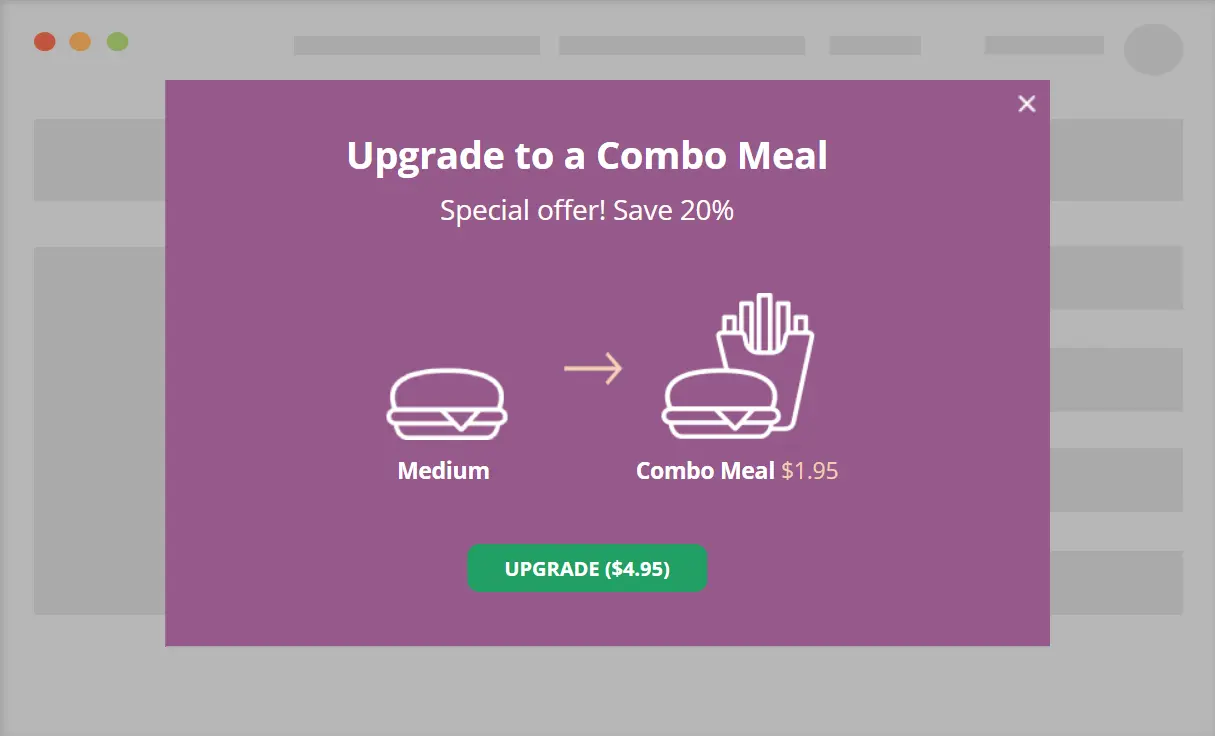
Conditions/features in use: The User Role condition / The Schedule Condition & The Trigger Events Extension
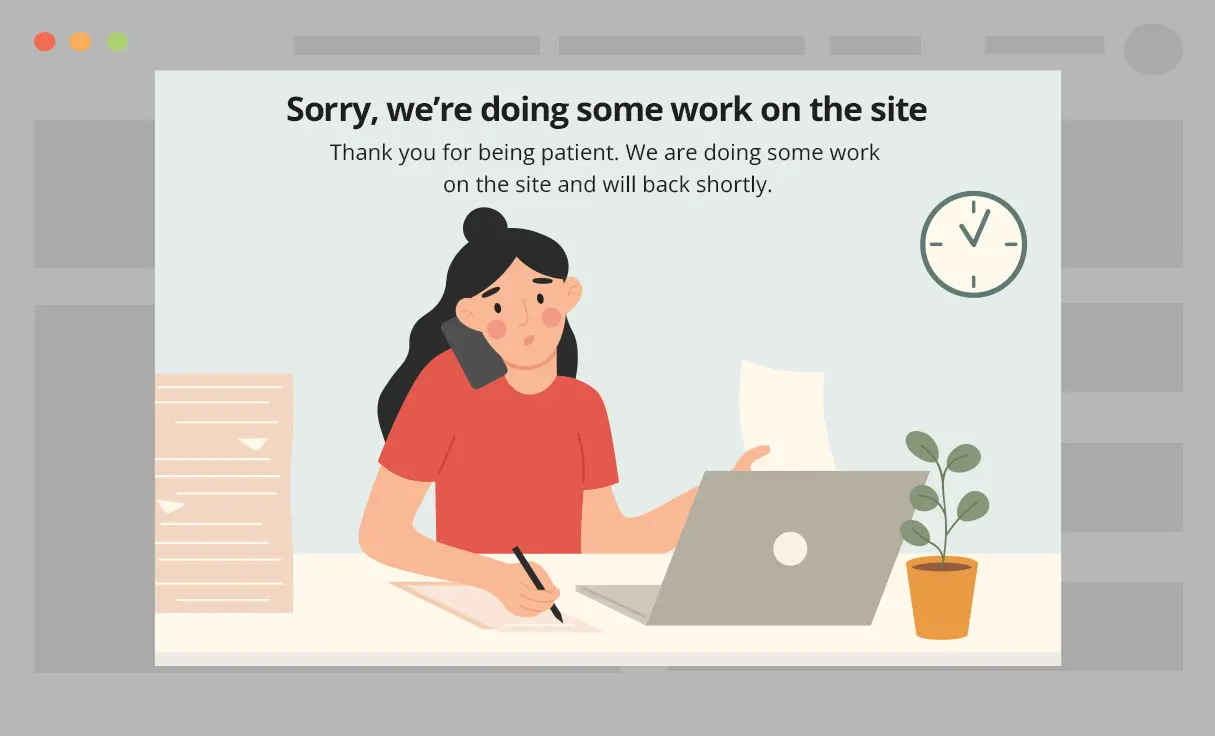
In this example, we use the User Role condition to display a pop-up that hides the website from users who are not Admins.
The pop-up’s closing button is disabled, so visitors can’t see the website.
Popular use cases:
– Show a “coming soon” message to visitors who are not Admins
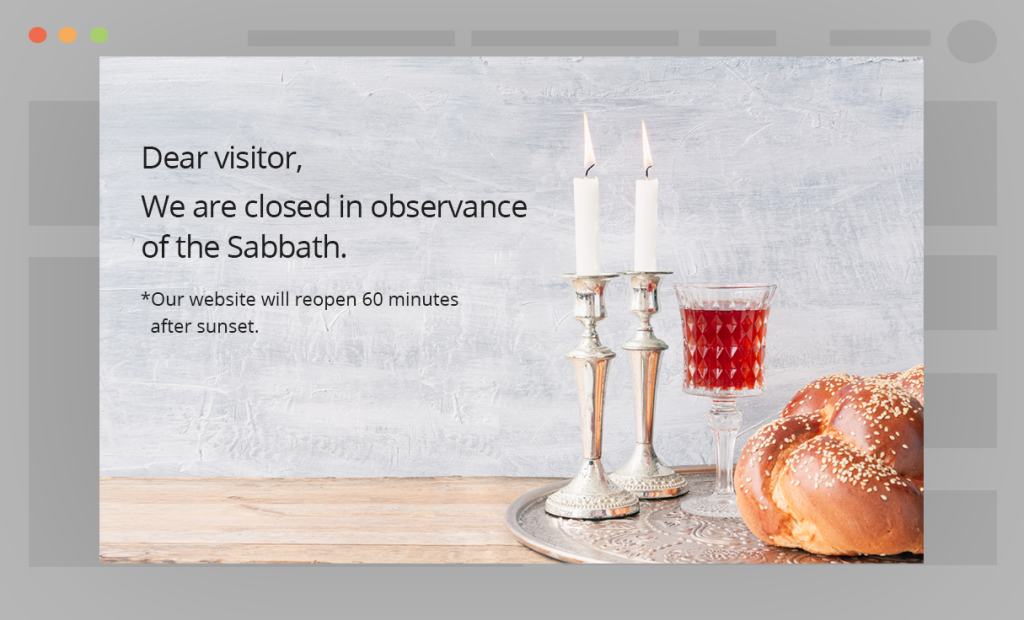
– Block access to the site on the Sabbath (see example at the bottom of the page)
Step-by-step: Applying the pop-up on your site
The pop-up functionality requires both If-So and the Trigger Events extension. Please make sure that both are activated on your site.
- Click the “Edit Template” button.
- Customize the template and click “Copy Code“.
- On your WordPress dashboard, go to “If-So → Add New Trigger”.
- Select the condition for displaying the pop-up (under version A).
- Paste the template code in the dynamic version’s content field. Make sure you are in “Text” mode.
- Content: Click the “Edit Template” button (on this page) and copy the template’s code. Paste the code on your dynamic version content field (make sure to paste the code in “Text mode”).
- Default version – leave blank.
* If you want to display the pop-up without setting a condition, skip steps 4 and 5 and paste the pop-up’s content in the default version content field. - Press “Publish” and look for the trigger ID (in the trigger’s shortcode).
- Paste the following shortcode anywhere on your page/s. Replace the shortcode’s ID (123) with the ID of the trigger you created in the previous steps.
[ifso id="123" ajax="yes" display="modal"]Display the pop-up on all website pages
- On your WordPress dashboard, go to “If-So → Settings”.
- Paste the shortcode from the previous step into the “Load extra content on all pages” field (make sure to paste the code in “Text mode”).
- Optional – Exclude pages for which you don’t want to display the content (Learn more).
- Click “Save“.
* In addition to the conditions that If-So offers for displaying the pop-ups, pop-ups can also be displayed only after one of the following on-page events has occurred: Click, Scroll, Inactivity, Delay, or Exit Intent. Learn more.
Setting up an alternative close button
By default, clicking the pop-up’s overlay (background)); conversely, the closing X at the top-right corner closes the pop-up.
If you want to override this option, add the parameter closebtn=”your-selector” to the trigger’s shortcode. The value of the parameter should be a Class or ID of an element that you wish to set as a closing button.
Make sure you include the dot (.) or number sign (#) before the selector name.
In the following example, clicking an element with the ID #PopUpClose will close the pop-up:
[ifso id='1437902' ajax='yes' display='modal' closebtn='#PopUpClose']
Schedule a pop-up to be displayed during the Sabbath
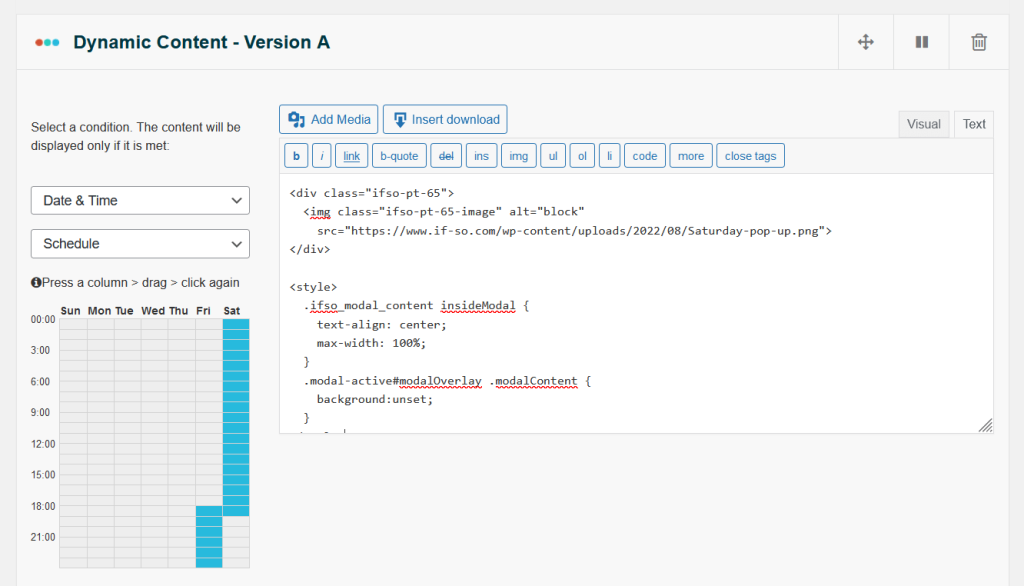
In this example, we use the Schedule Condition to display the pop-up during the Sabbath.
A trigger with a Schedule condition set up:
